Designing Your Own Enclosures For Electronics Projects
Laser cutting has long been the chosen solution for many DIY electronics project enclosures, and with good reason. By building a custom case using laser cutting, you are able to protect components, give precise access to interface elements, and also add laser etched details that communicate function and branding.
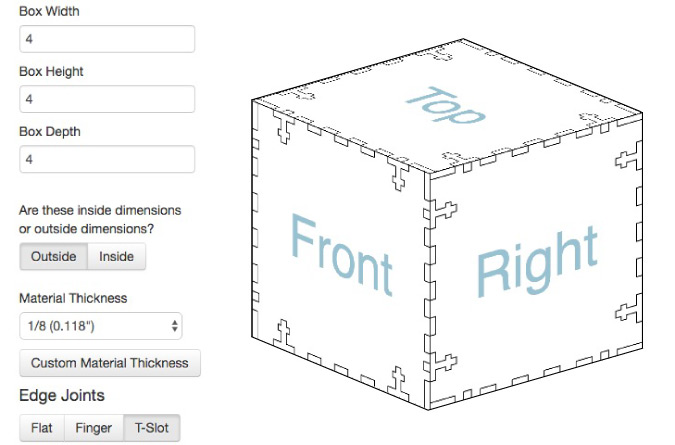
We’ve previously taken a look at how to make a laser cut enclosure using Box Maker and similar plugins for laser cutter-friendly software programs. Another neat browser-based option is MakerCase (screenshot below) where it is easier than ever to enter design constraints, interact with a 3D model of the enclosure and then save a file that is ready for laser cutting.
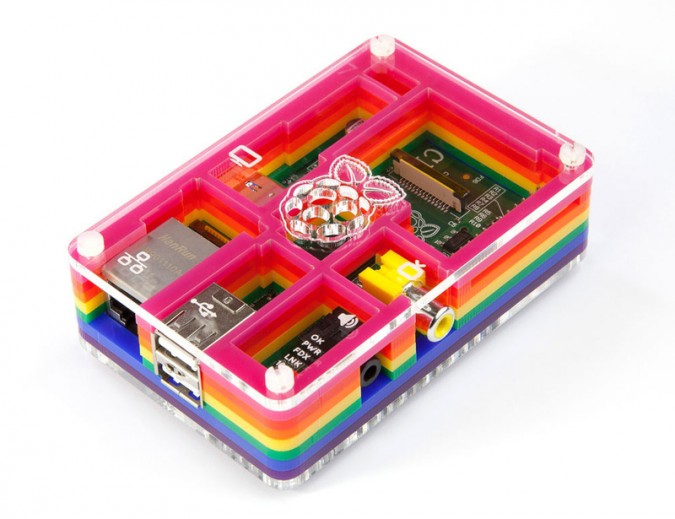
These fantastic tools and software solutions go a long way in making laser cut enclosure design accessible for projects large and small. While a laser cut enclosure can be quite simple, the thorough breakdown by Phillip Burgess on Adafruit covers a number of key considerations and comes strongly recommended indeed. The eye-catching rainbow Raspberry Pi case pictured at the top of this post is a prime example of the way that the strengths of laser cutting can be leveraged to produce unique, desirable outcomes.
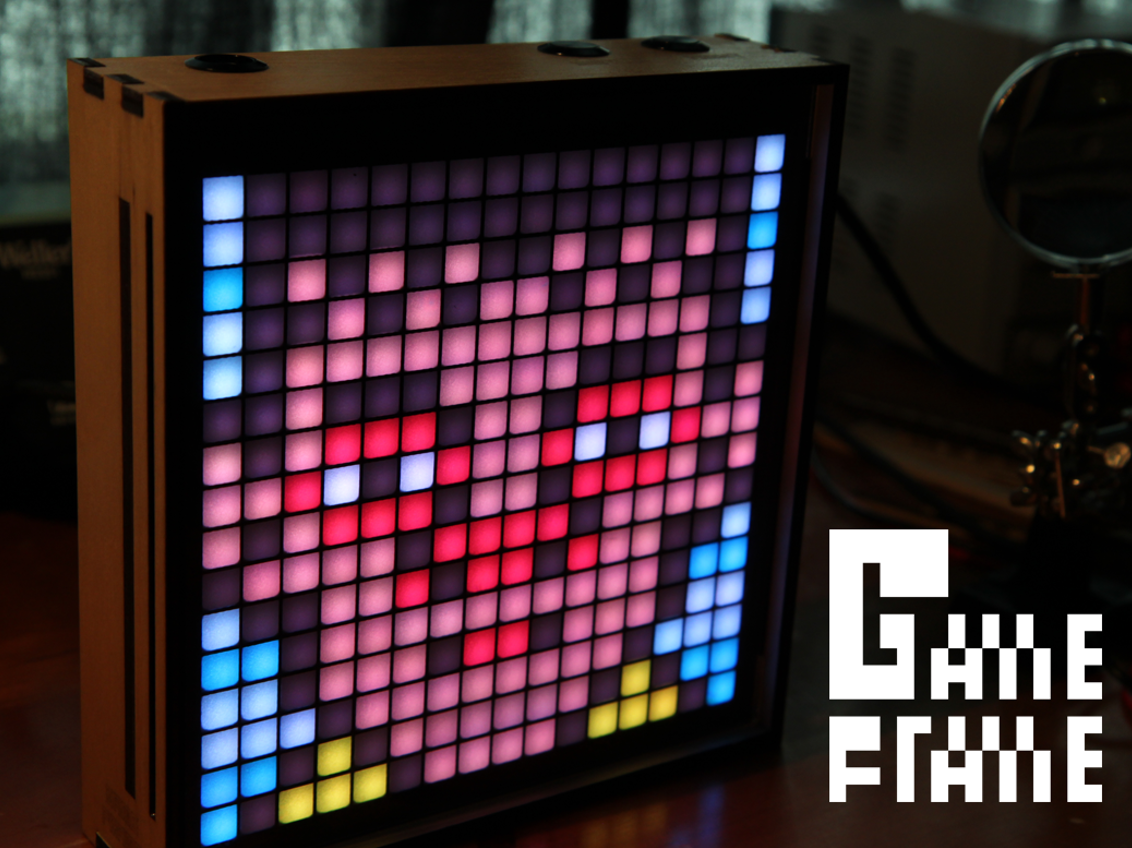
Personal projects get a serious boost from laser cut enclosures, and the next step is often to produce and sell products that look both professional and highly resolved. A notable example of how custom laser cut enclosures have helped turn personal projects into Kickstarter success stories is the Game Frame (pictured below) from Jeremy Williams.
So whether you’ve baked yourself a techno treat with the Raspberry Pi, or created new possibilities using the latest boards from Arduino; those electronic projects can get such a boost when a custom laser cut enclosure is added to the mix.
In short, laser cutting enables customization and full control over the following design and interface elements:
Protect components: Boards, screens and connectors can all be housed securely.
Location of openings: Plugs, connectors, lights and vents can all be positioned in exactly the right spot.
Communication: Adding custom branding, labels to ports, and a bit of personal flair.
Be sure to read through the Adafruit Laser Cut Enclosure Design Overview and fire up your Ponoko Personal Factory to get the prototyping process started right away. And if you want more tips for making your own electronics enclosures, check out Your Guide To Making Electronic Project Enclosures.