Using the SketchUp plugin SliceModeler for the best friction fit

There are several ways to create 3D shapes from flat laser cut material, and each have their merits. Many Ponoko users ask questions about how to best design for interlocking parts – making this one of the more popular choices for transforming laser cut forms into 3D objects.
Interlocking parts can be mechanically fastened together, but in this tutorial we are looking at how to design friction-fit connections that neatly snap and lock into place.
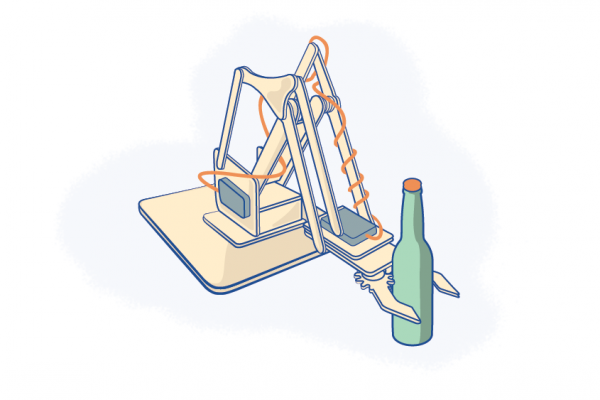
Pictured above is a laser cut trivet made by Ponoko user Andrew Jones. To produce this form he used the freely available software SketchUp along with the handy SliceModeler plugin. He then compiled a detailed Instructables walkthrough that outlines his design process for interlocking laser cut products.
To achieve the glue-less design, small curved bumps (nodes) are added into each slot. This extra material allows the parts to slide together with enough contact and pressure to fit snugly. This sounds easy enough, but just how to get the right size and number of nodes takes some time and patience. Slot length, material thickness and density are just a few of the factors that need to be considered.
I highly recommend creating parts with different size and numbers of nodes so you can find the best fit that works for you. You might want a very hard fit that needs to be tapped together with a rubber mallet or you might want a fit that can be assembled by hand without any tools. The only way to find the fit that works for you is try different size nodes.
Click through to the full tutorial where you will learn how to create a basic form using Sketchup and SliceModeler, add the nodes, export into Inkscape and then add the final SVG to a Ponoko template ready for laser cutting.
via Andrew Jones on Instructables