Programmatically personalize objects with custom text
Last week I made some promotional glow-in-the-dark bottle openers (based on Starno‘s excellent bottle opener) for Site 3‘s anniversary party. I used Blender to add some lettering, but it was a pain because I’m not really used to working with the Blender UI.
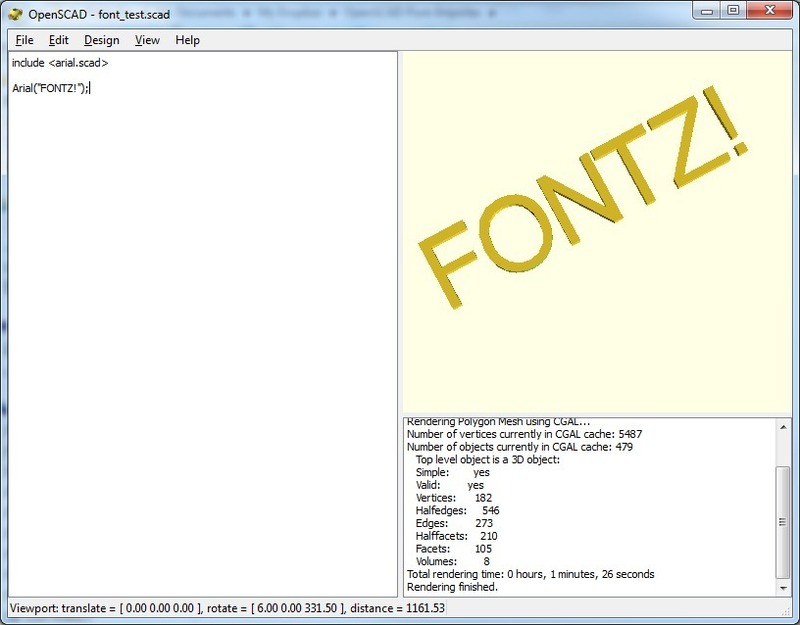
Lucky for me, there’s now a solution for generating 3D text in OpenSCAD: the OpenSCAD Font Importer 1.1 by pipakin. It’s still under development (and requires a bit of compiling) so some users may not find this to be an easier solution, but it’s a must-have if you love using OpenSCAD.
Here’s how to get started.
These instructions will work in general for whichever platform you’re using, but specifically I’m using Mac OS X 10.6. (In my experience, when compiling open source projects like FreeType under Windows, there can be… hiccups. 🙂 )
Download these packages:
- – FreeType 2.4.5 (Main site)
- – freetype-py (Main site)
- – Python 2.7.2 (Main site)
- – full_ddump.py and font_base.scad from here
Install and compile:
- – Install Python
- – Extract freetype-2.4.5.tar.gz
- – Extract freetype-py-0.3.1.tar.gz
- – Open a terminal window and do this:
- > cd ~/Downloads/freetype-2.4.5/
- > ./configure
- > make
- > sudo make install
- > cd ~/Downloads/freetype-py-0.3.1/
- > python setup.py install
Create a font file:
- – Pick a TrueType font already installed on your system, or download a public domain one from FontSpace and copy it to your Downloads folder
- – In your terminal window, do this, changing HelveticaLight to whichever font you chose:
- > cd ~/Downloads/
- > python full_ddump.py -f HelveticaLight.ttf -o FontHelveticaLight.scad -m FontHelveticaLight
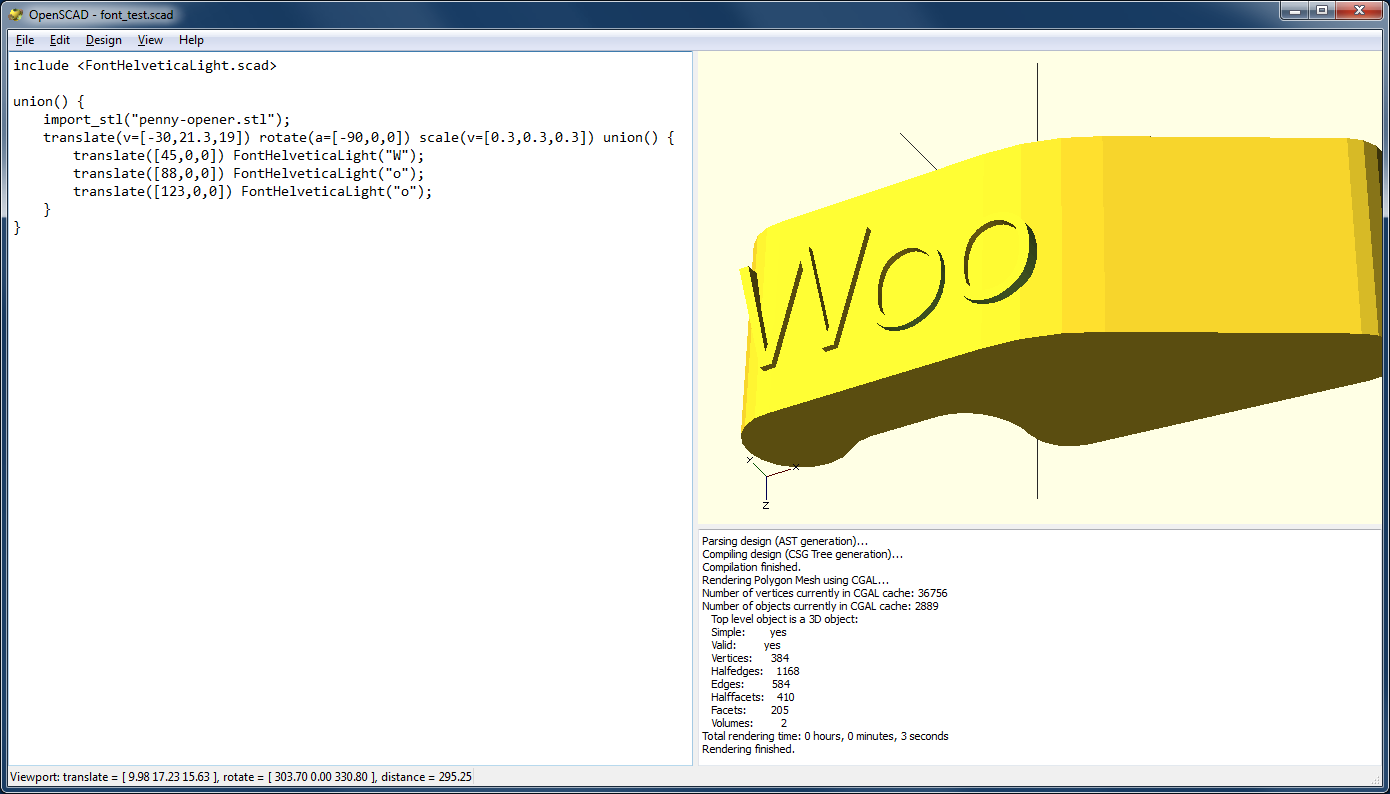
Okay, you’re ready to use the font. All you have to do now is add “include <FontHelveticaLight.scad>” to the OpenSCAD file you’re working on, then create each individual letter by calling FontHelveticaLight() like this: FontHelveticaLight(“A”);
Now you can move and transform the text as you like, and personalize existing models as you see fit. Here’s hoeken‘s chunky bottle opener with text added:
The rendering process can be slow, so if you’re doing more than a few letters pipakin recommends generating your string as a separate model and merging it in later. Be sure to read the instructions at http://www.thingiverse.com/thing:9551 for more options to control font size, spacing, and pre-generation of full strings of text.
Derek Quenneville is a 3D printing evangelist who posts weekly on the Ponoko blog. Follow him on Twitter @techknight.


