Why Magictale Electronics Chose Laser Cutting To Create Just The Right Fit
Go to any thrift store, and you’ll find all kinds of electronic gadgetry just ripe for the picking…of parts, that is, for your next engineering project build. Or if you’re like Dmitry Pakhomenko, you might find a discarded DVD player in the street, free for the taking. That’s when he and his team at Magictale Electronics got creative about what they could build.
“We found a broken DVD player literally lying in the street,” he says. “A quick test indicated that the VFD board and power supply were functional. The VFD was 16-segment and therefore capable of displaying not only digits but characters as well.”
Once he determined the DVD model, he downloaded the service manual and VFD driver datasheet to simplify the reverse engineering necessary for his experimental clock/thermometer display. From there, he mapped the bits to segments for the display and driver, created a demo for the VFD driver, built the clock/thermometer, added components and connected them altogether. After assembling all the electronics, it was time to build the enclosure. But what kind of manufacturing method would work best?
Using Laser Cutting To Create The Right Fit
“To give any electronics project a neat look, it is always very important to put it in an enclosure of appropriate sizes and shapes,” Dmitry says. “Our VFD clock is no exception and also needs a box.”
He notes there are at least three ways to create an electronics enclosure. The most budget-friendly and (generally) least time-consuming option is to start with something off-the-shelf. “The problem is that there is literally no chance to find a box that doesn’t look bulky and ugly while at the same time being capable of accommodating our long VFD panel and power supply along with some room for the Freeduino board,” Dmitry explains. “Moreover, a conventional box would still require some substantial effort to secure boards and the panel inside by drilling many holes and, in the end, it would look ugly anyway.”
OK, so off-the-shelf is a no-go. What’s next? Let’s look at 3D printing. It’s possible to use a CAD system to design a 3D model of an enclosure and then order the piece from an on-demand 3D printing manufacturer. While this second option could achieve great results in terms of shape, it would require rather advanced skills in 3D modeling and it’s a budget buster. Whoa.
With an inexpensive but unattractive enclosure on one end of the spectrum and a good-looking but crazy expensive enclosure on the other, there’s got to be a way to meet in the middle. Enter laser cutting.
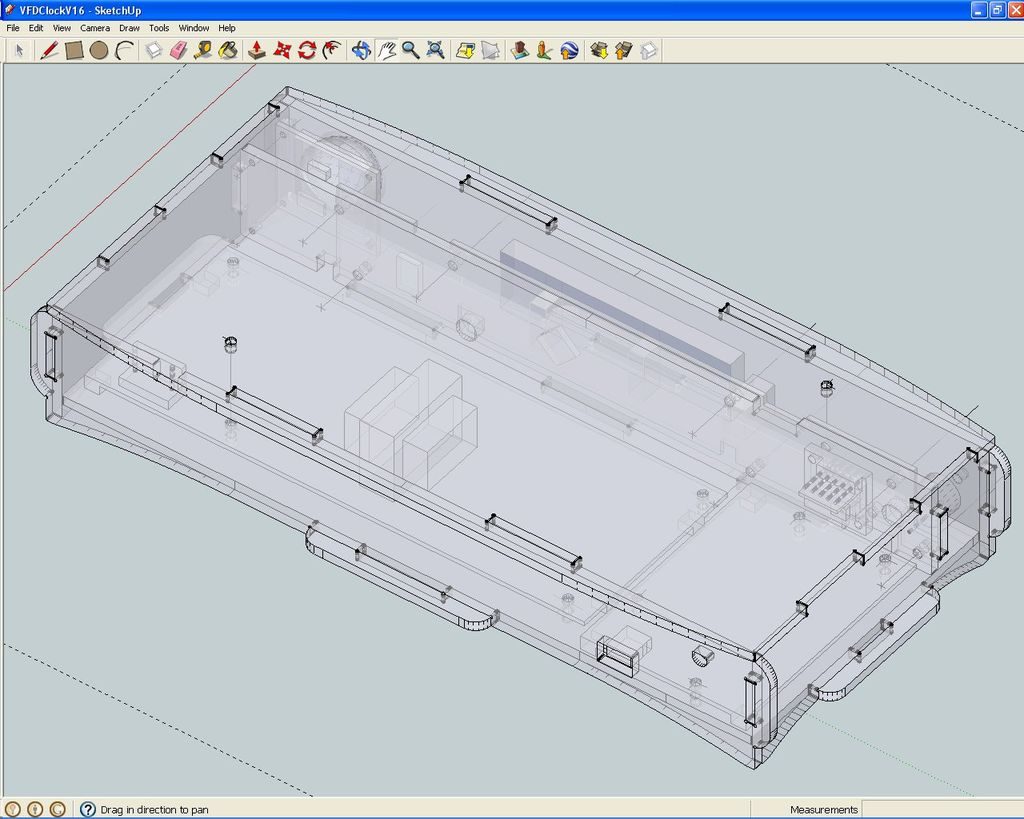
“A compromising solution would be the third approach: To make a box of acrylic panels that are laser cut by a manufacturing house such as Ponoko,” Dmitry says. “The design files could even be prepared in CorelDraw or Inkscape, although I strongly recommend using a 3D tool such as SketchUp. That way you can make a box as compact as possible, designing the required holes and making the laser do the hard work. This process also provides the invaluable skills of making drawings for real things with an opportunity to see and touch the end result—and all of this for a very reasonable price to pay for materials, machining time and shipping.”
Why does Dmitry recommend using a 3D modeling tool instead of 2D one? “The short answer is simple: While the overhead of complexity designing things in 3D is so low that it could be neglected, there is a very powerful opportunity to fit all parts in 3D together, and find and fix problems before the parts have been actually manufactured,” he says. “By designing models of boards and VDF panels, it is also possible to make sure that all of them fit inside the box without mutual interference.”
By creating digital prototypes, Dmitry is able to check and recheck measurements, ensuring the fit is accurate for not only the enclosure itself but also all of the components that will fit inside. It may take a bit more time upfront, but it’s well worth it in terms of saving time and money later on if multiple physical iterations are needed to perfect the fit.
Here’s what the 3D prototype looks like for the MagiClock enclosure:
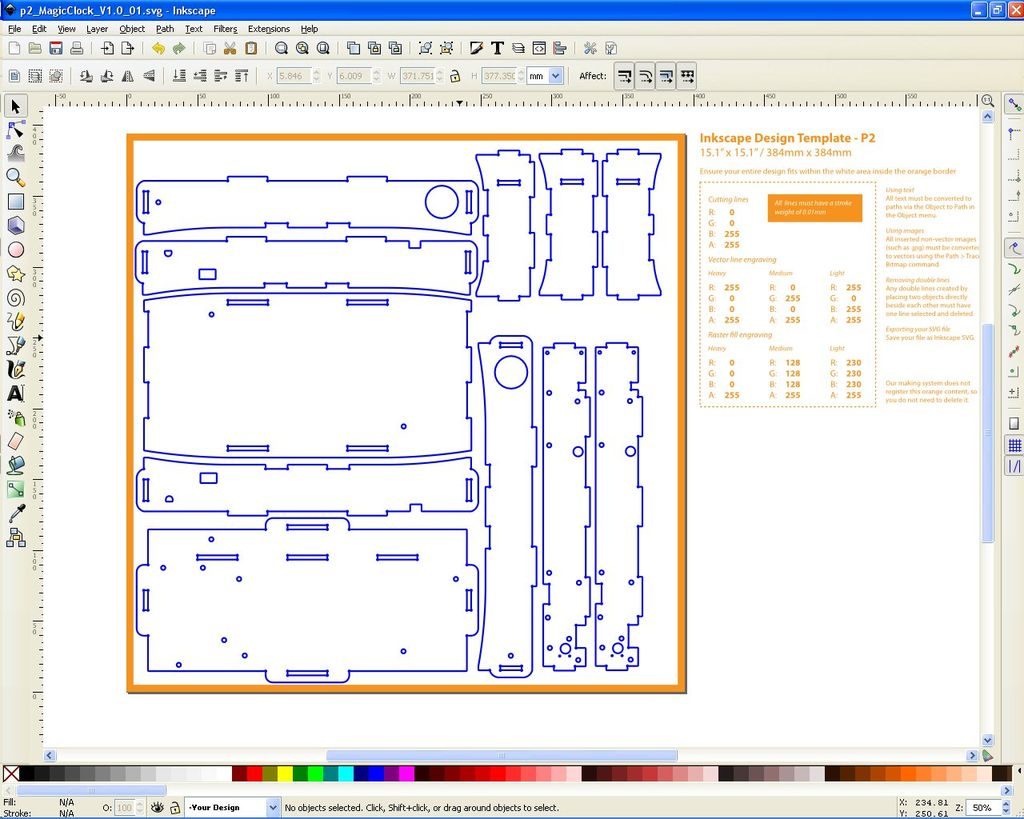
Once all dimensions are confirmed, then the 3D drawing can be converted into 2D files for laser cutting.
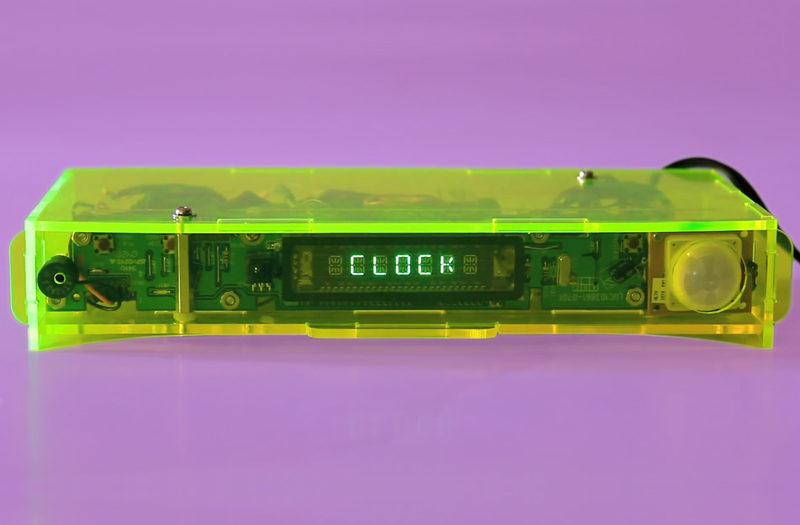
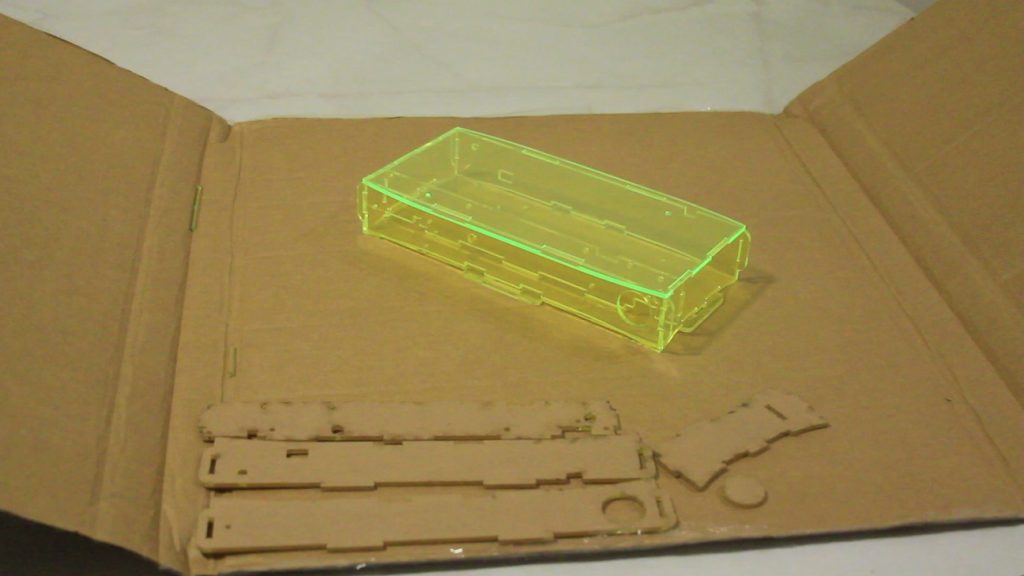
Then it’s as easy as uploading the files and waiting for the parts to arrive. Dmitry chose fluoro-green tint acrylic for the MagiClock. Here’s what the parts look like at unboxing after the protective paper has been removed.
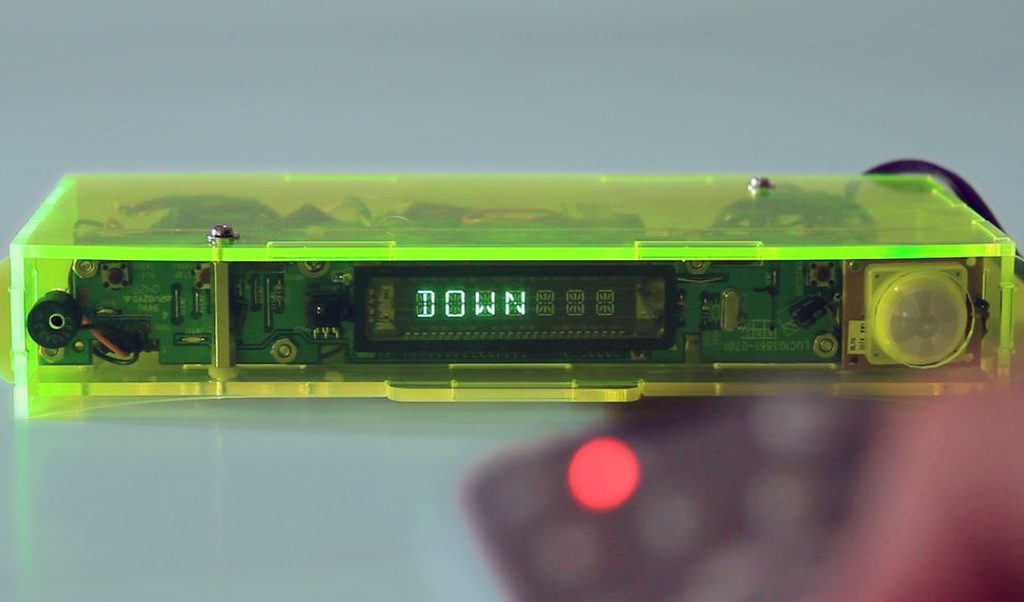
Now that the enclosure parts are in-hand, Dmitry put all the pieces together. Voila! Here’s the MagiClock. We’re so down with it.
What’s great about this project is that Dmitry has made it all open source. “Having source code and all design files as a starting point, it becomes very easy to customize it for your own needs and your own project,” he says. “Even the VFD driver might be modified with little effort to control the VFD panel from another DVD player; they’re all designed in a unified way. The aim of the project was not to design one more digital clock but to demonstrate what could be done from electronics that have been literally thrown away.”
Reuse, repurpose, recycle. We like where your head’s at, Dmitry.
To make your own MagiClock, follow this tutorial on Instructables. Unless otherwise stated, MagiClock is licensed under a Creative Commons Attribution-ShareAlike 3.0 License